Food photography is one of the most difficult genres of photography to master, but it’s also one of the most rewarding. You don’t need an expensive DSLR to get good food images; you can use a smartphone or a compact camera and still get amazing shots.
When you’re traveling, it’s not always easy to get great food shots, but these food photography tips should help you get the best images you can with the equipment you have available.
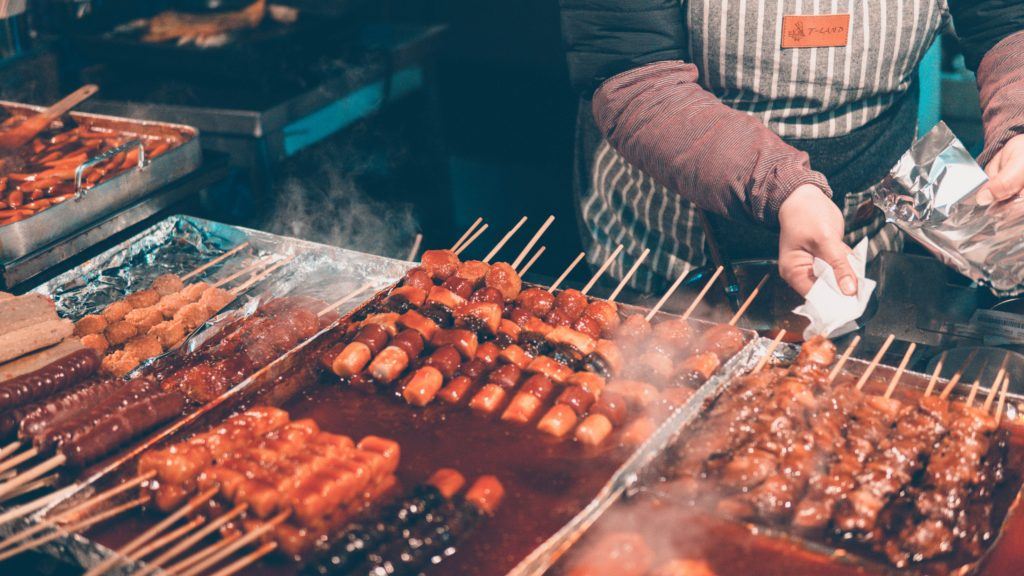
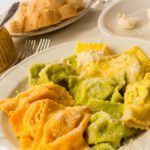
Photo by Ian Valerio on Unsplash
Planning and Preparation
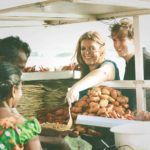
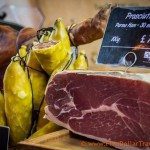
Do you have an idea of what kind of food shots you’d like, or do you prefer to go with the flow? As a traveler, you’ll get to see and experience wonderful local cuisines, so don’t rule out shooting in places like local food markets with all the fresh produce piled high.
Doing some research on the local dishes and the best places to eat and photograph them will pay off in the end, as it usually helps to have a rough idea of what you are going to find rather than just turn up.
Make sure your equipment is charged and ready to go, and bring back-up batteries in case you run out of power. The same goes for memory cards – you will fill them up quicker than you think!
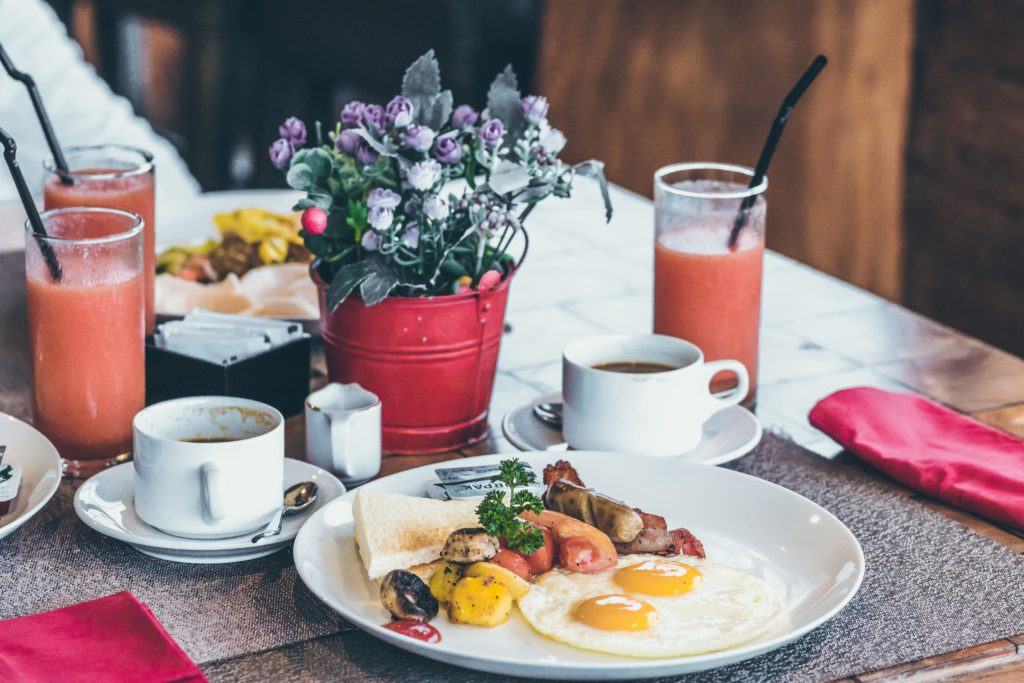
Photo by Artem Bali on Unsplash
Lighting
Food looks best in natural light, as long as it is not in direct sunlight. This is good news for travelers, because it means you can travel light. It’s even better if you are able to sit outside in the shade to eat, as you will have plenty of good, diffused light.
The best direction of light is from the side or back. Placing your dish in front of the window and shooting facing the window will give you backlight, and moving position so that the window is at your side will give you sidelight. Simply move the dish and yourself to find the best lighting angle. You can also light from the top, where the light comes straight down, but it can be difficult to find natural top lighting unless you are outside.
Don’t use flash to light food, as it throws harsh shadows and makes the food look unappetizing. If there is candlelight at the table, you can use that for atmospheric light.
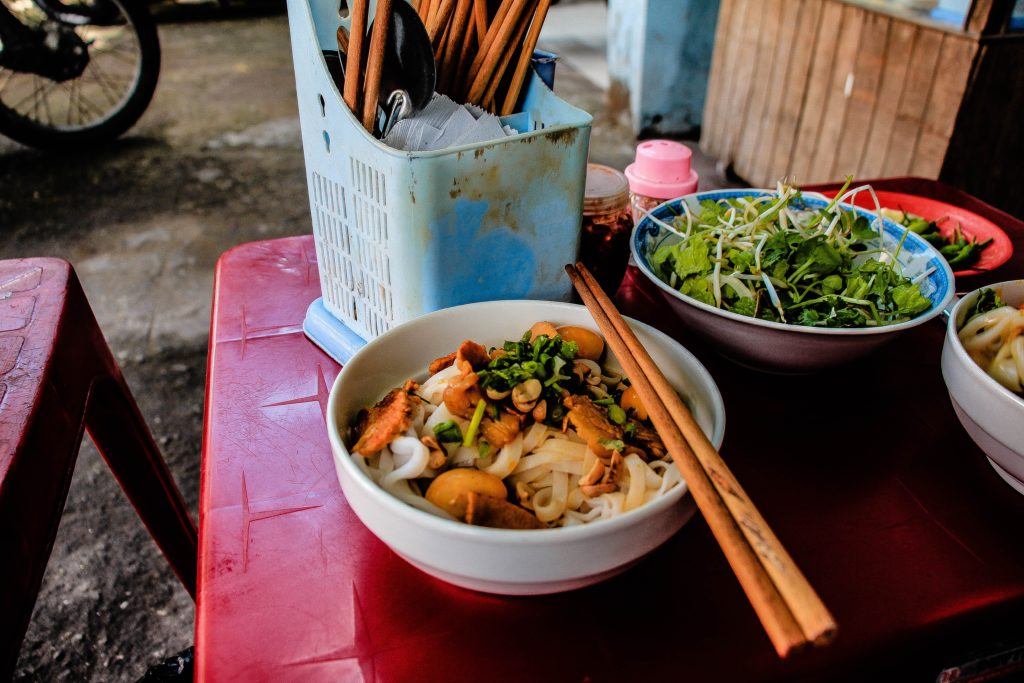
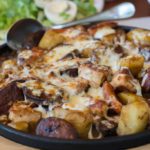
Photo by René DeAnda on Unsplash
Try to Capture the Atmosphere
You can go in close so that only the food is the star of the show, but why not capture some wider-angle images that show the atmosphere and give some context to the food photos?
A great way to add interest is to capture the food preparation and cooking process, but you will need to ask permission first. If the chef says no, respect that decision.
Simple is Also Effective
You don’t need to have an elaborately set up three course meal with all the trimmings to get good food photos. Often one simple dish is better, as there is less to distract from the food itself.
Food is best photographed as freshly cooked or prepared as possible, which is why it’s necessary to have your camera or phone set up and ready to shoot immediately the food is placed in front of you. Food also tastes better if it’s eaten straight away, so don’t get so caught up with shooting that you let your food go cold!
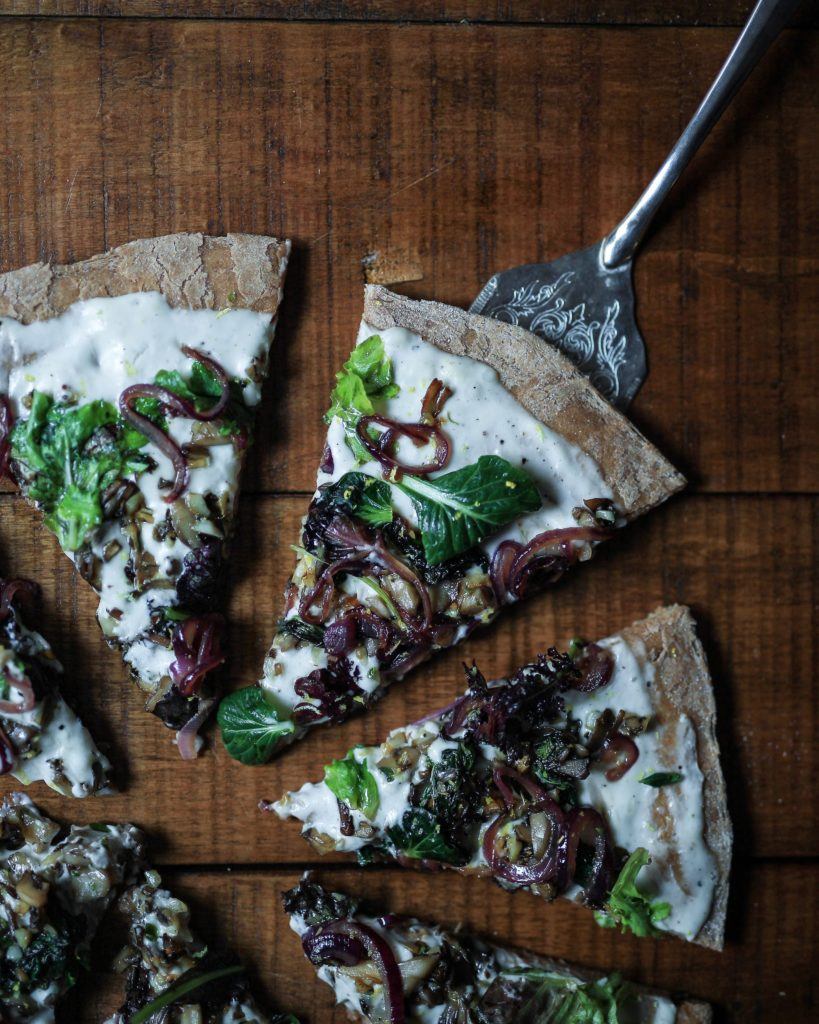
Photo by Edgar Castrejon on Unsplash
Work the Angles
Try shooting the food from different levels and angles, and make your images stand out more by getting a mixture of shots from different positions. Go right down to the level of the dish and shoot from there, or try shooting straight down.
Don’t be afraid to get in close and cut off the edges of the plate or board that your food is on. Alternatively, shake up your compositions and have the whole table in the frame, complete with cups, glasses, and utensils. Images of your dining companions hands along with the food as they enjoy the meal can add real interest.
Post Processing
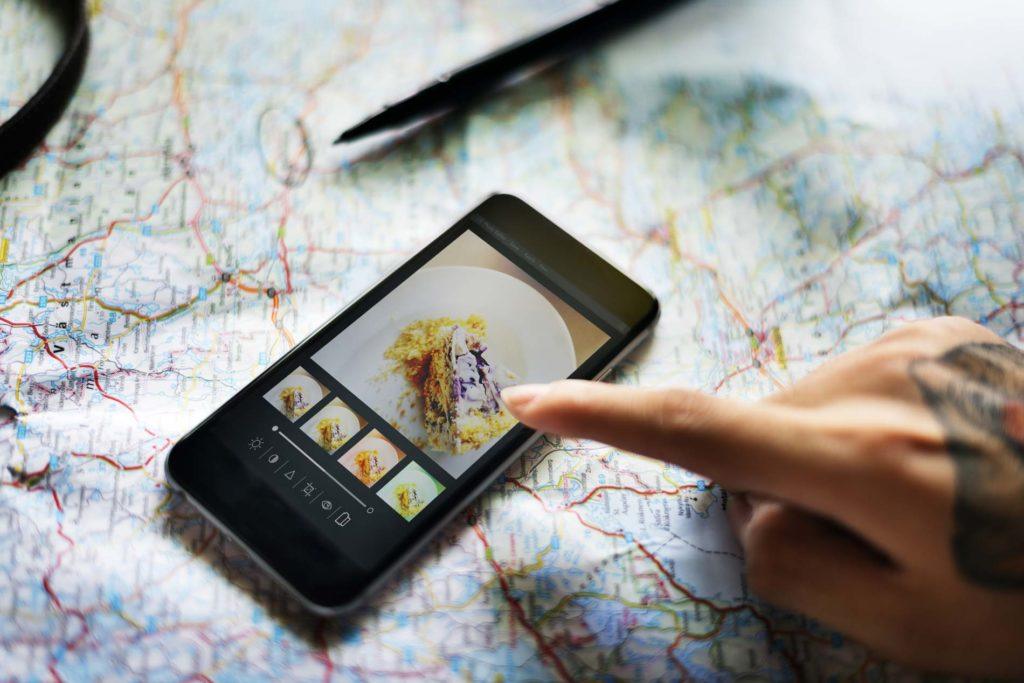
Your food images will benefit from some fine-tuning. You don’t need to be a professional or have any advanced skills to edit your images. It is easy to crop, fix exposure issues, adjust the color and contrast and do many other things from your phone native app or even from the Instagram app (it allows you to do some adjustments manually in addition to filters). For smartphone photographers, there are many apps you can download to give you a range of editing options. You can also try desktop editing – you’ll be able to see everything closer and detailed and there are plenty of free (GIMP, Paint.net, DarkTable) and reasonably priced options available. Some image editors offer one-click overlays and preset (Luminar, Lightroom), which give your images a specific look.
Final Thoughts
If you practice with your camera or phone before you go on vacation, you’ll find it much easier to quickly set up and take a good shot. Don’t be afraid to make mistakes – after all, that’s how we learn. One last thing: enjoy your meal!
A Food Fun Travel Guest Post by Max from Photo Geeky

